Just starting out with Worklog360? Follow these first steps to set it up to give the employees in your company a great experience.
1. Access to Worklog360
When you install Worklog360, all Jira software users have access to it by default if they're in the jira-software-users Jira group on your Jira instance. If that's all you need, then you're good to go.
2. Grant these Jira Project Permissions
Make sure that everyone in your company has all the essential Jira Project permissions they need to work in Worklog360. These are standard Jira Project permissions that Worklog360 uses - see Project Permissions for what each of these permissions are and how to grant them.
-
Grant the Browse Projects, Work on Issues, Edit Own Worklogs, and Delete Own Worklogs permissions to a Jira group that includes all Worklog360 users. These permissions let users log time using Worklog360 and view, edit, and delete their own worklogs in Worklog360.
-
Grant the View All Worklogs, Edit All Worklogs, and Delete All Worklogs permissions to the appropriate Jira groups of managers and team leads in your company.
-
Make sure that the atlassian-addons-project-access project role is granted all permissions in the Project Permission Scheme of all Jira projects.
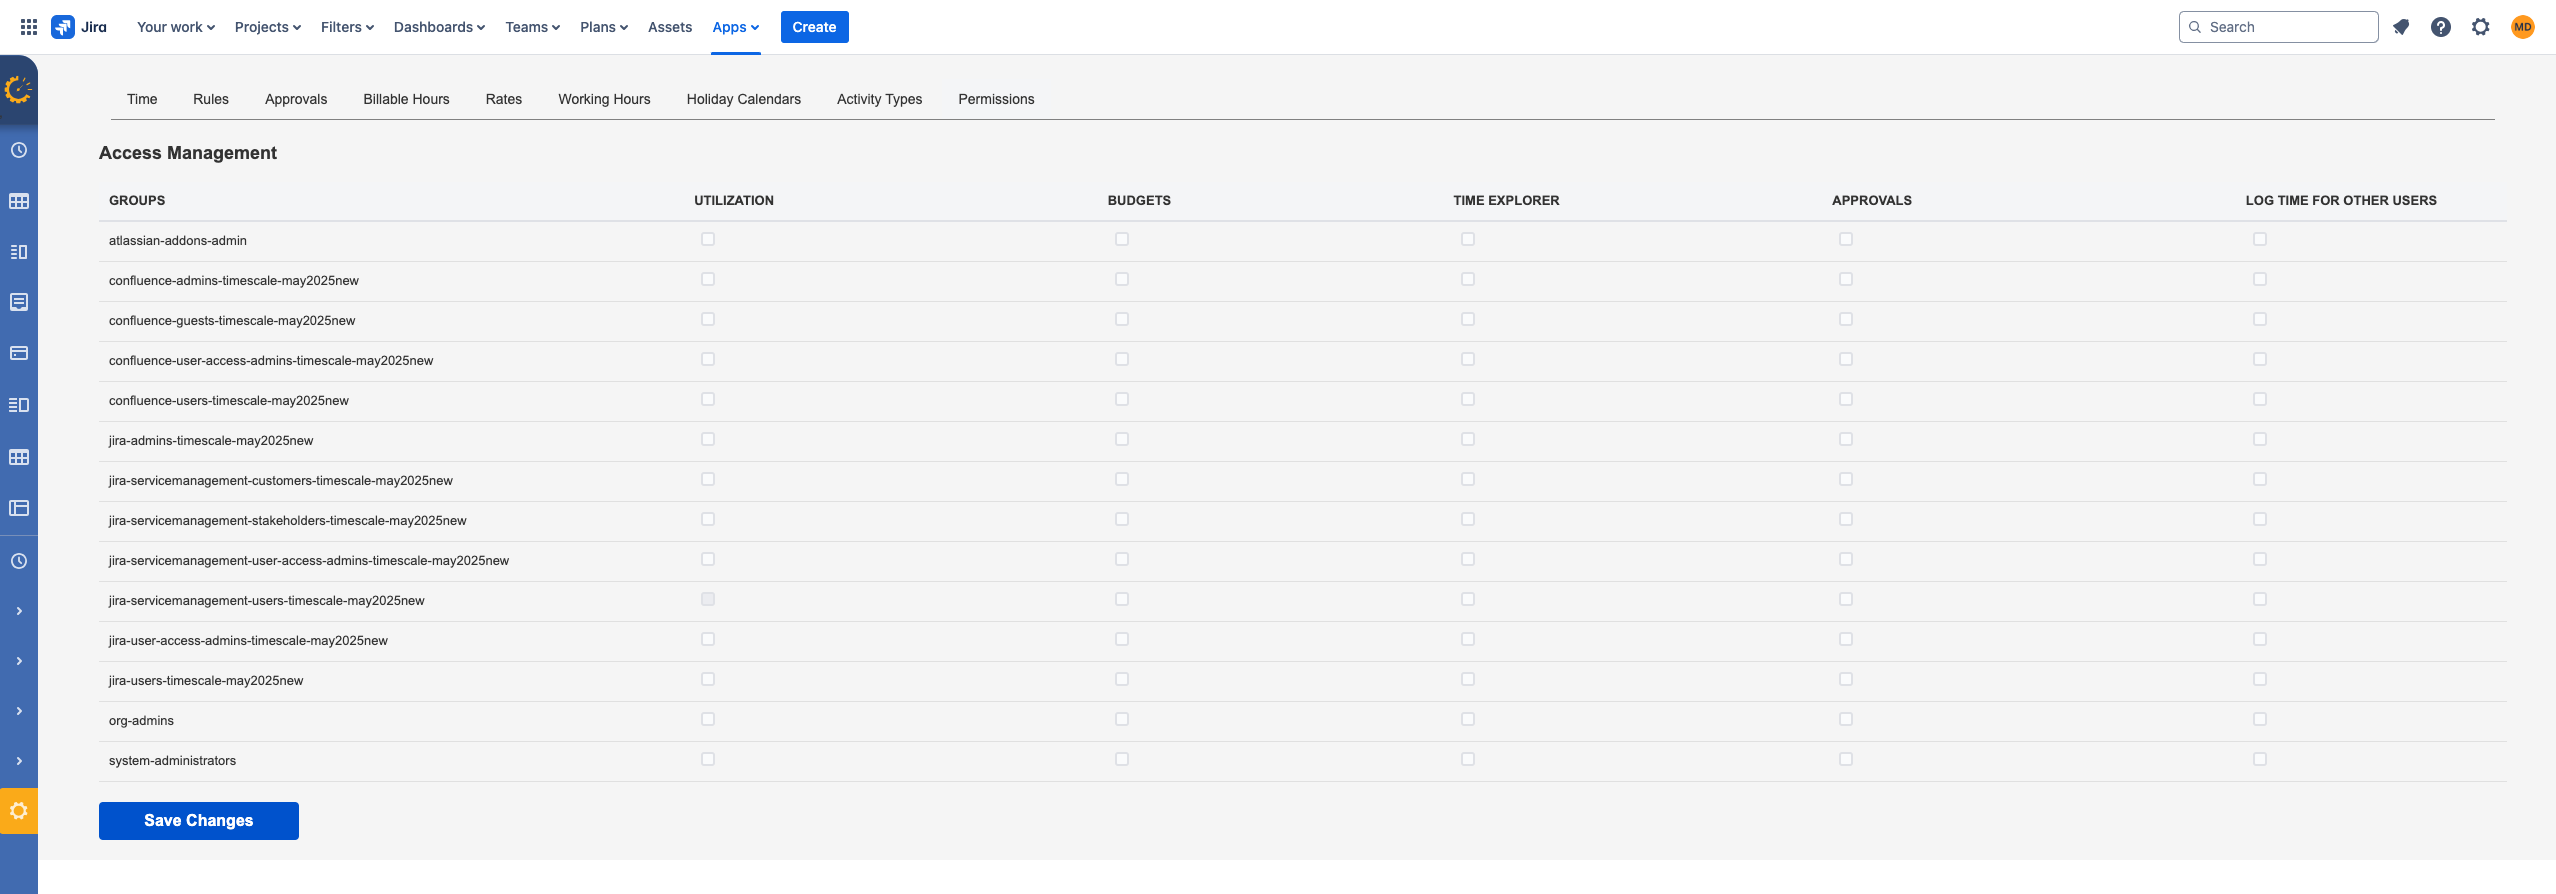
3. Grant these Worklog360 Permissions
Timescale allows you to have extra permission based on Jira Groups. You can limit which Jira group users can have access to different menu items of Worklog360.