This guide explains how to create a billing-ready budget in Worklog360 — defining what can be billed, at what rate, and over which period.
Budgets are the foundation of billing in Worklog360. They connect:
-
Logged time
-
Billable rules
-
Role-based rates
-
Invoicing
What is a budget in Worklog360?
A budget is a container for worklogs, linked to a specific Jira project and time period.
Once a budget is created:
-
All eligible worklogs are automatically assigned to it
-
Billable hours are calculated using defined rates
-
Costs and revenue roll up in real time
-
Invoices can be created directly from the budget
Budgets can be used for:
-
Client projects (Time & Material or Retainers)
-
Internal projects (cost tracking – work in progress)
Before you create a budget (important)
To ensure correct billing, make sure:
-
Projects are logging time using Worklog360
-
Billable hours are enabled where applicable
-
Roles and rates are defined (see below)
Step 1: Set up roles and rates (one-time setup)
Worklog360 uses role-based rates to calculate money from time.
Cost rate vs billable rate
-
Cost rate → what it costs you per hour (salary, overhead)
-
Billable rate → what you charge the client per hour
Example:
-
Developer: $40 cost / $100 billable
-
Designer: $30 cost / $80 billable
Profitability comes from the difference.
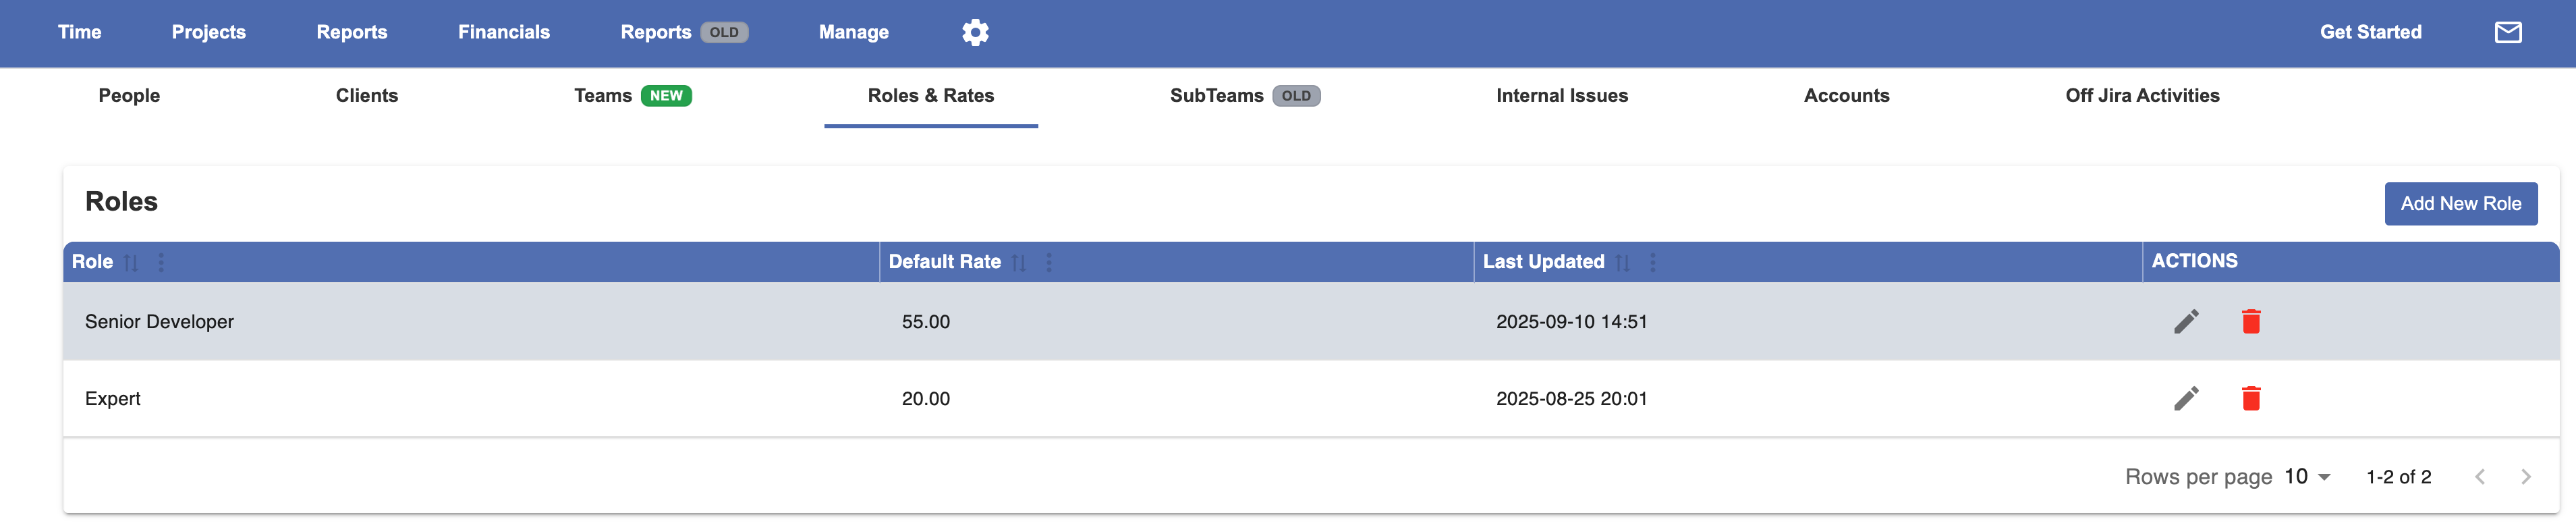
Where to configure rates
-
Go to Worklog360 → Manage → Roles and then to People
-
Define roles (Developer, Designer, QA, PM, etc.)
-
Assign:
-
Cost rate
-
Billable rate
-
📌 These rates will be automatically applied to worklogs based on user role.

Step 2: Create a new budget
-
Go to Worklog360 → Budgets
-
Click Create Budget
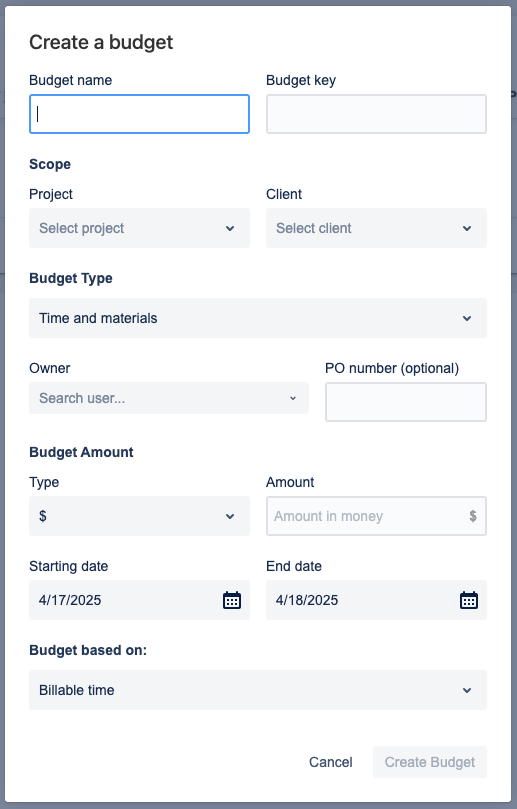
Step 3: Fill in the budget details
Core fields
-
Budget Name
A descriptive name (e.g. Project A – October) -
Budget Key
A unique identifier -
Project
The Jira project this budget applies to
📌 Only worklogs from this project can be assigned -
Client
The client associated with the budget -
Owner
Person responsible for the budget -
PO Number
Client purchase order reference (optional)
Step 4: Choose the budget type
Time & Material
-
One budget with a start and end date
-
All billable time logged in that period is tracked
-
Common for hourly-based projects
Retainer
-
Creates multiple recurring budgets
-
Same amount per period
-
Useful for monthly or quarterly retainers
Options:
-
Recurring interval: Monthly or Quarterly
-
Number of occurrences
Step 5: Define how the budget is measured
Budget based on
Choose which hours and amounts affect budget burn:
-
Billable hours only
-
Logged Hours (to be done in Q1 2026)
Budget type
-
Money-based (e.g. $10,000)
-
Hours-based (e.g. 200 hours)
Amount
The total budgeted amount or hours.
Step 6: Set the budget time range
For Time & Material budgets:
-
Start date
-
End date
📌 Only worklogs with a start date inside this range can be assigned.
Step 7: How worklogs are assigned to the budget
Once the budget is created:
-
Any worklog:
-
Logged in the linked Jira project
-
With a date inside the budget range
-
-
Will be automatically assigned to the budget
Example
You create:
-
Budget: BudgetX
-
Project: ProjectA
-
Period: Oct 1 – Oct 31
-
Amount: $1,000
Every billable worklog logged in ProjectA during October:
-
Is assigned to BudgetX
-
Gets a dollar amount based on the user’s role rate
Step 8: Handle worklogs created outside the budget flow
Some worklogs may need manual attention:
-
Logged before the budget existed
-
Imported from another system
-
Logged via a different app
Go to Worklogs & Budget Administration to:
-
Mark worklogs as billable
-
Update rates or amounts
-
Assign them to the correct budget (if eligible)
📌 Worklogs must match:
-
Project
-
Date range
Step 9: Recalculate the budget (important)
After setup or adjustments:
-
Click the Calc button on the budget
This ensures:
-
No eligible worklogs are left unassigned
-
All amounts are correctly calculated
-
Budget totals are accurate
What you get after setup
Once a budget is active, you can:
-
Monitor budget burn in real time
-
See billable vs non-billable split
-
View cost vs revenue
-
Use the burn-up chart to detect risk
-
Create invoices directly from the budget
👉 Next guide: How to detect budget risk early
Best practices
💡 Always set up rates before creating budgets.
💡 Review budgets weekly, not just at month-end.
💡 Recalculate budgets after importing or adjusting worklogs.